Bizagi Server Configuration: Windows Server 2016
Overview
Bizagi processes require a web server for execution. Microsoft Internet Information Services (IIS) is the supported web server for running Bizagi processes on the .NET platform, as described in the IIS configuration section.
Before creating a new project in Bizagi Studio, ensure that IIS is installed and configured as described below.
Installing IIS and Its Components
To properly install IIS and the required components for Bizagi, follow these steps:
-
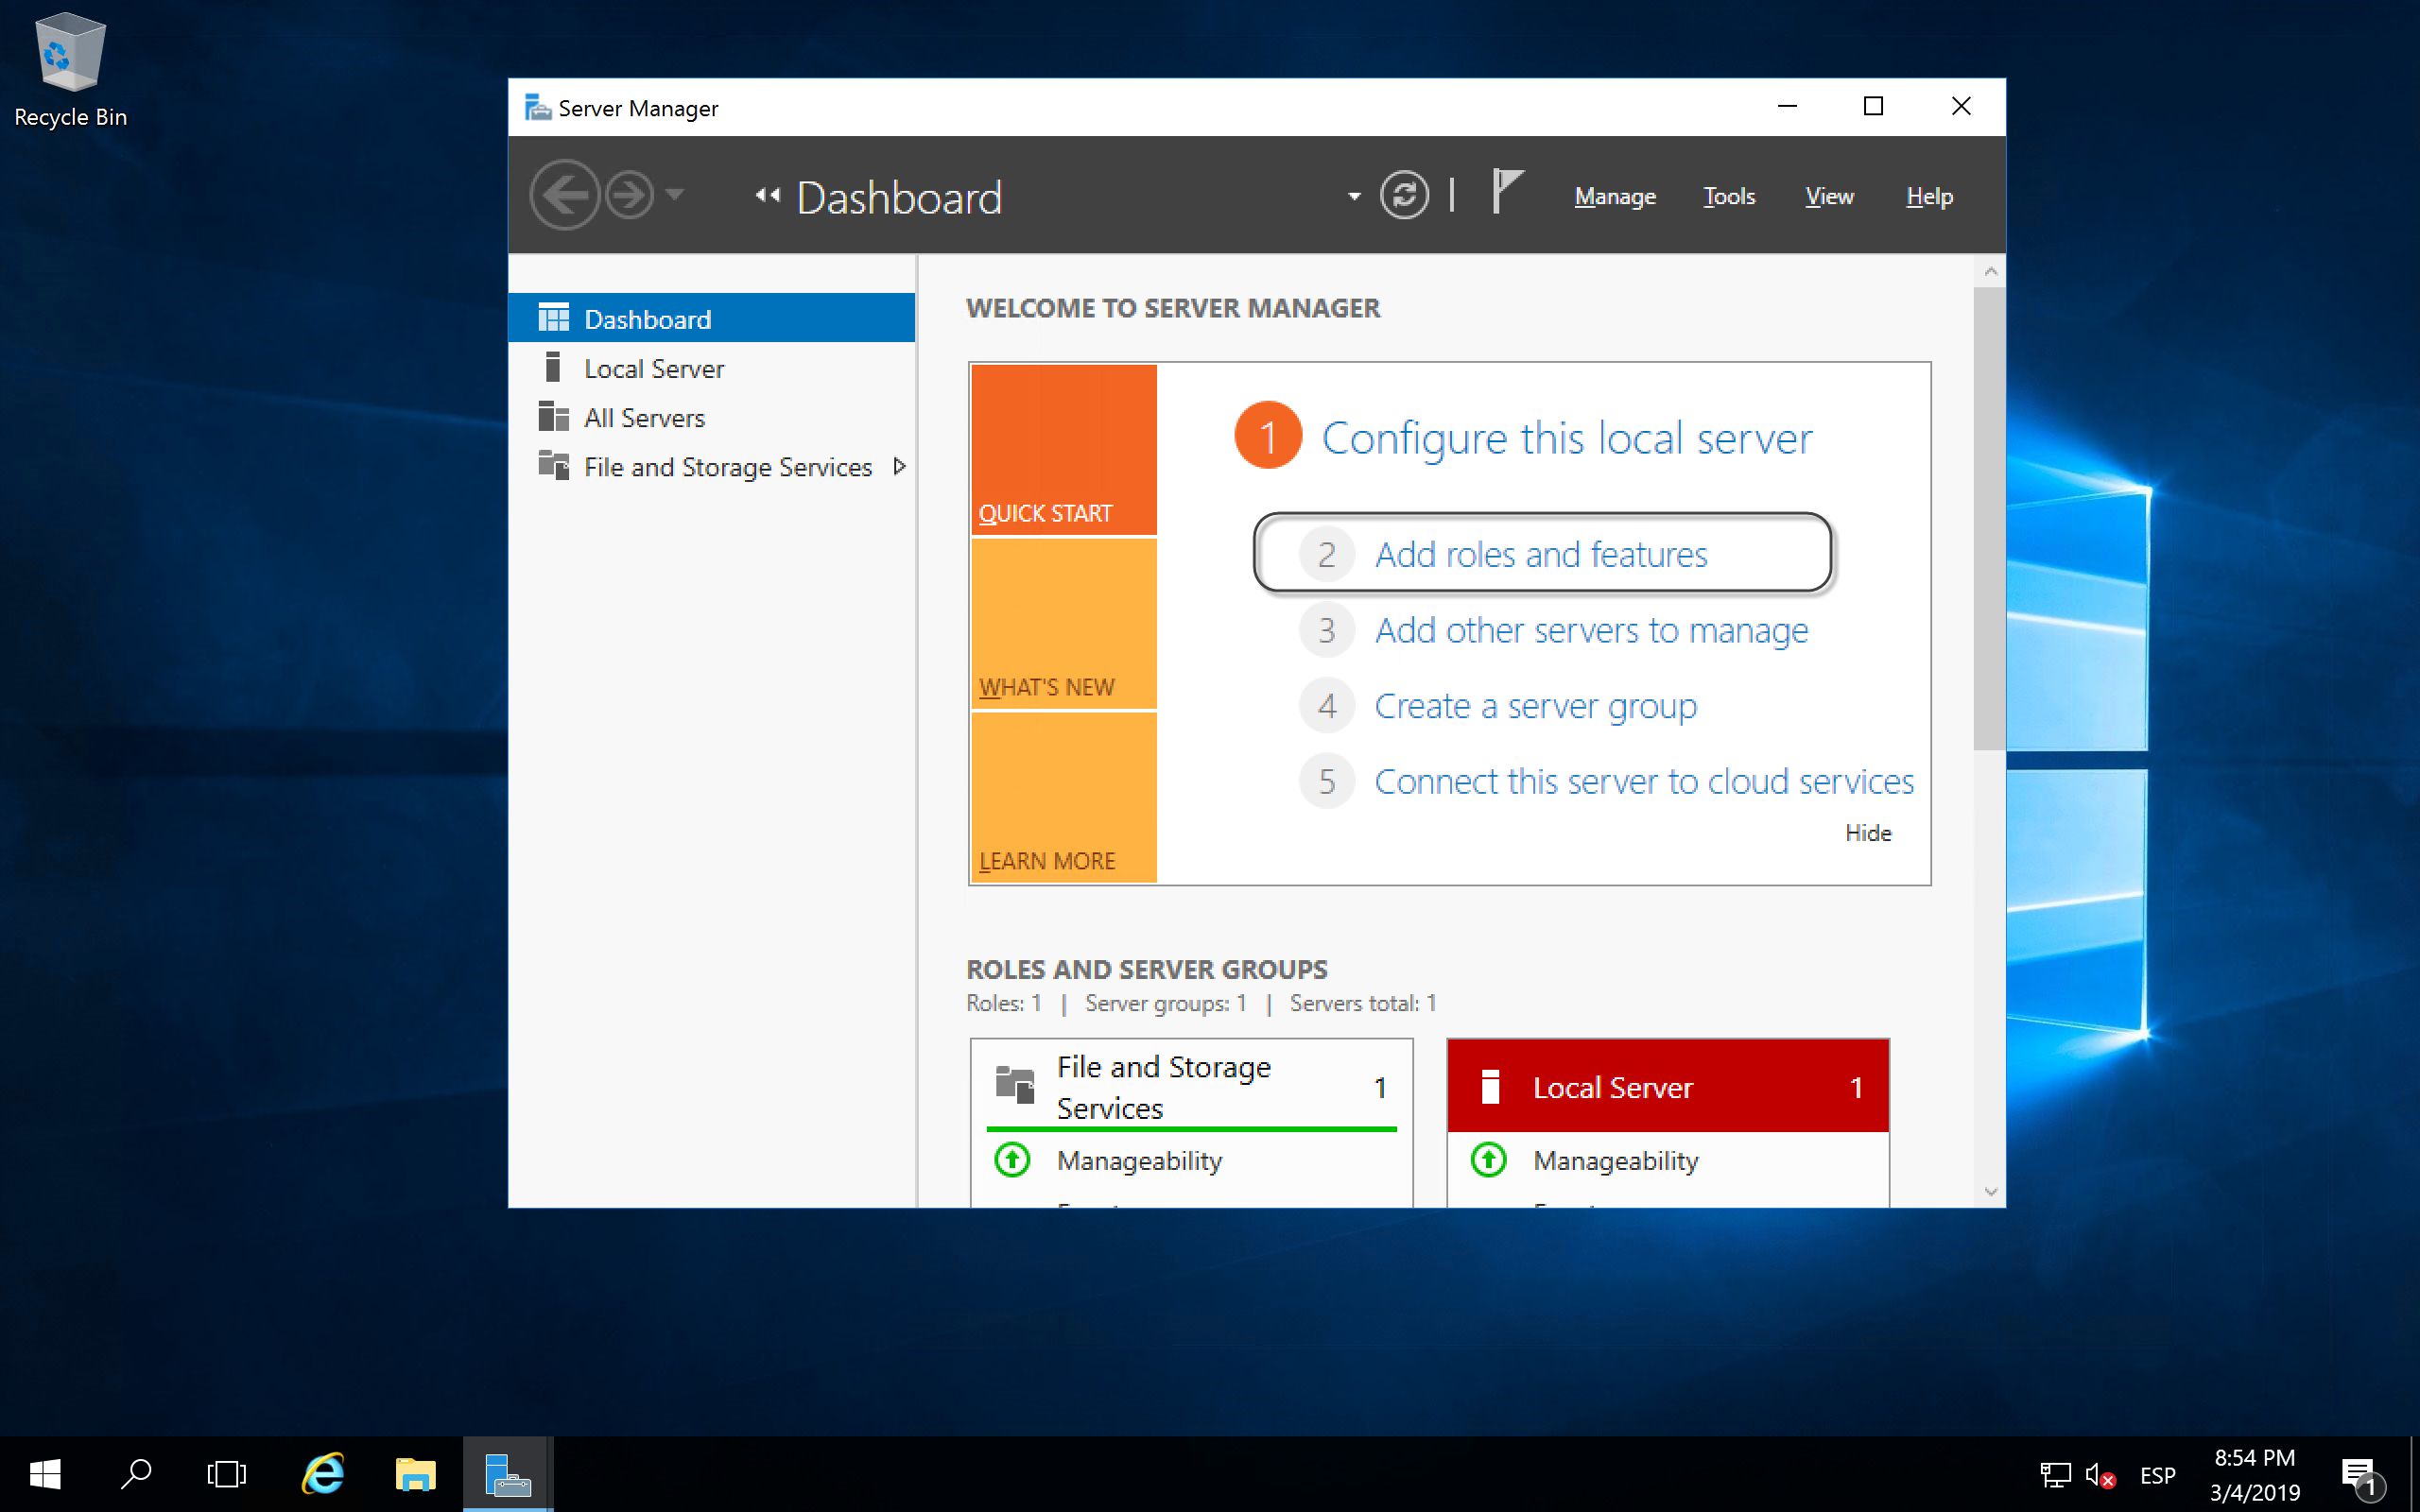
Locate the Server Manager panel.
Right-click on Computer and select Manage, or access it directly from the quick-access icons.
 Note: Administrator privileges are required for IIS installation.
 -
Open the Server Manager and select Add Roles and Features from the Dashboard quick-start options.
This will launch a wizard that will guide you through the setup process. Follow the wizard and click Next for each window.
On the Before-You-Begin page, verify the following:
- The administrator account has a strong password.
- The network settings (such as IP addresses) are configured.
- The latest security updates from Windows Update are installed.
You can skip this page the next time you install IIS.
-
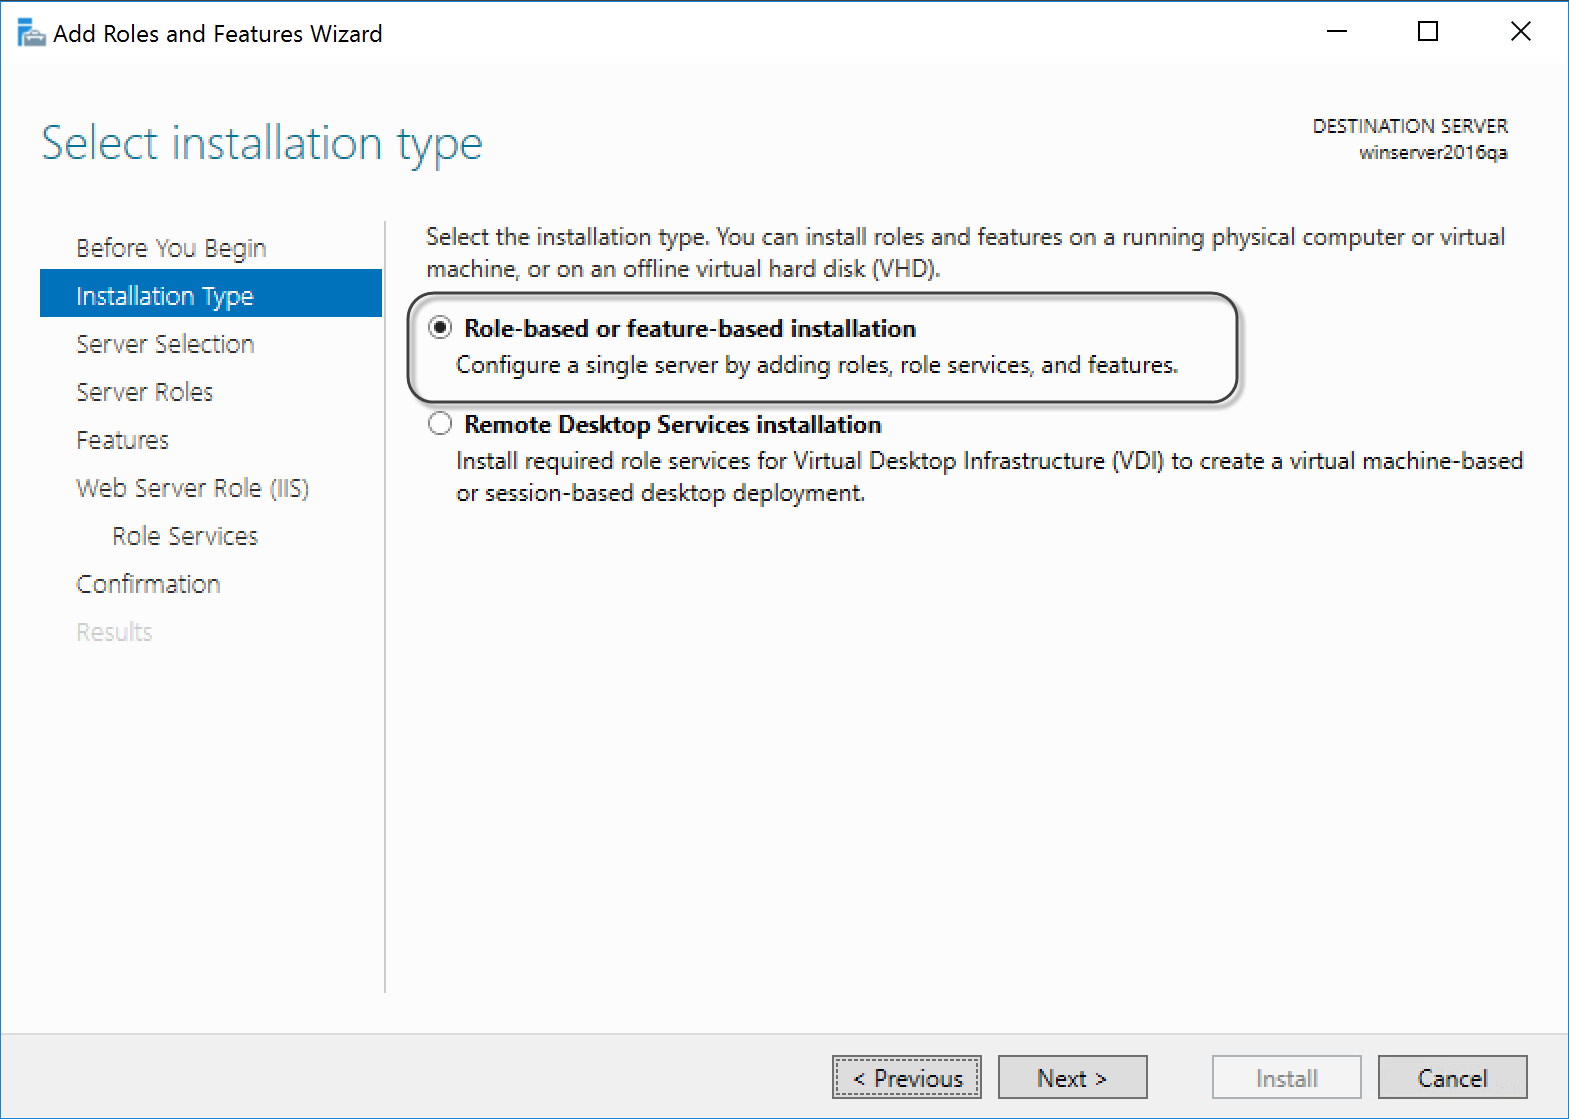
Select Role-based or feature-based installation and click Next.
-
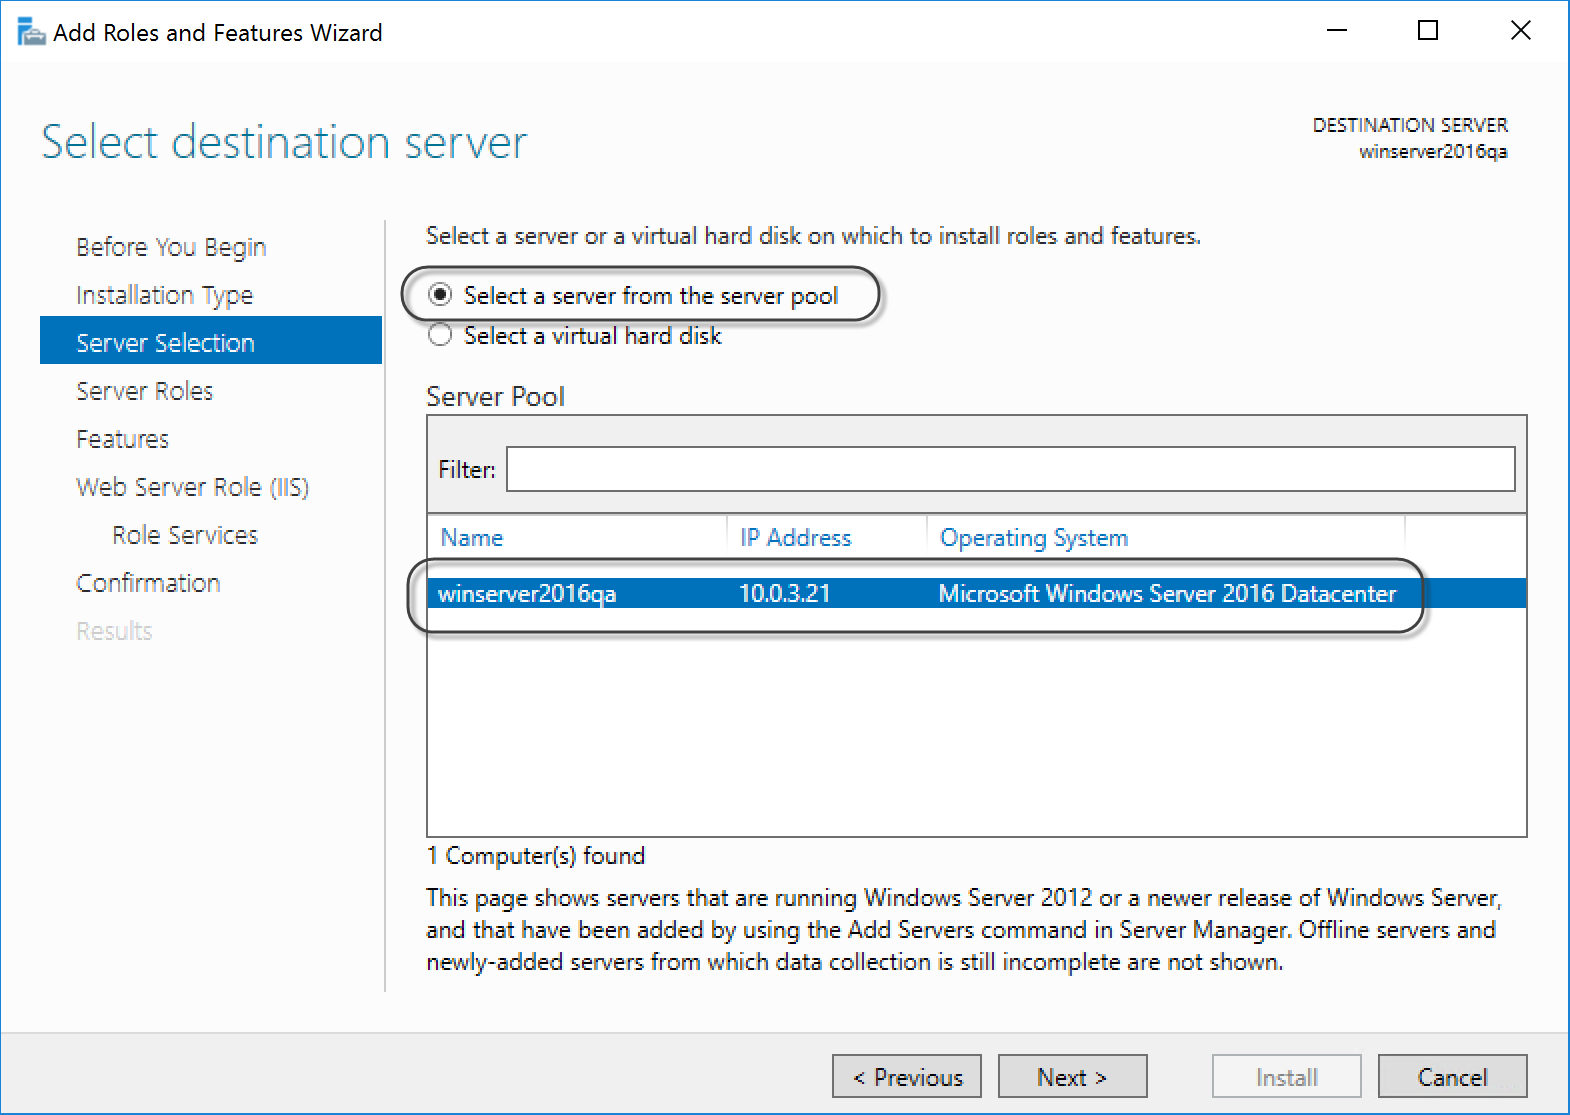
Choose the Web Server from the server pool to install IIS on the local host, and click Next.
-
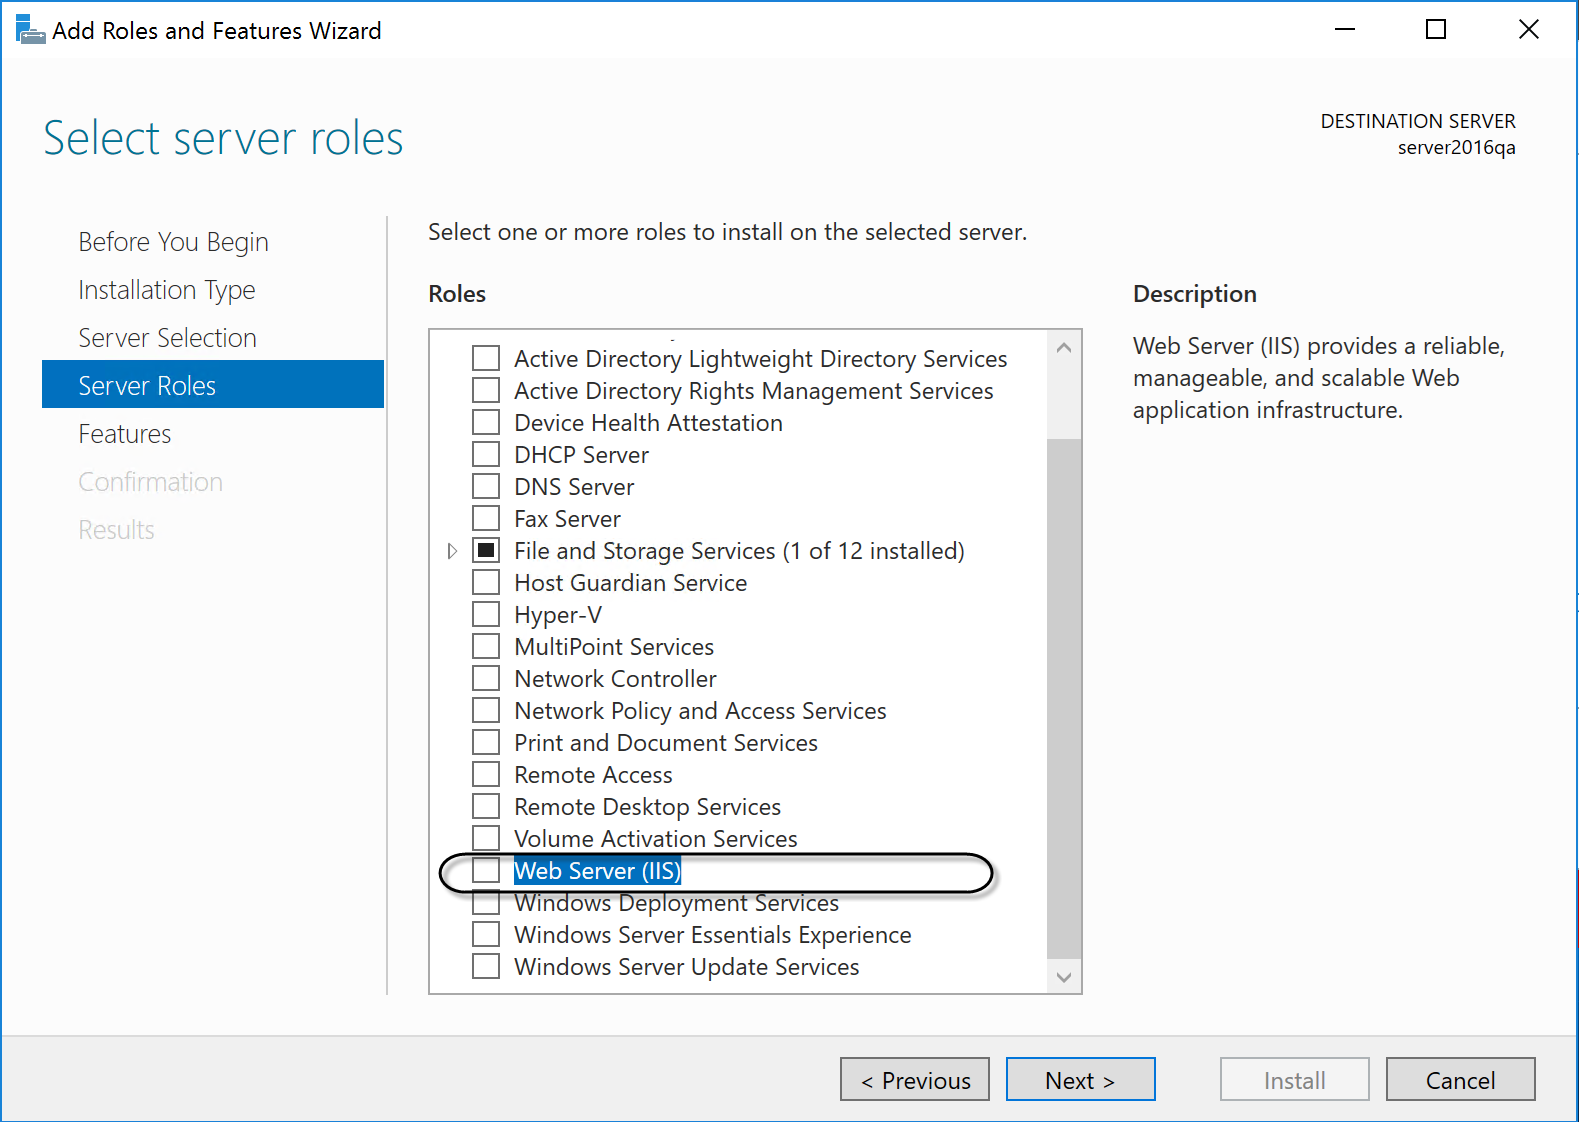
Select Web Server (IIS) as the server role and click Next.
 When prompted for required features, click Add features to meet the IIS server requirements.
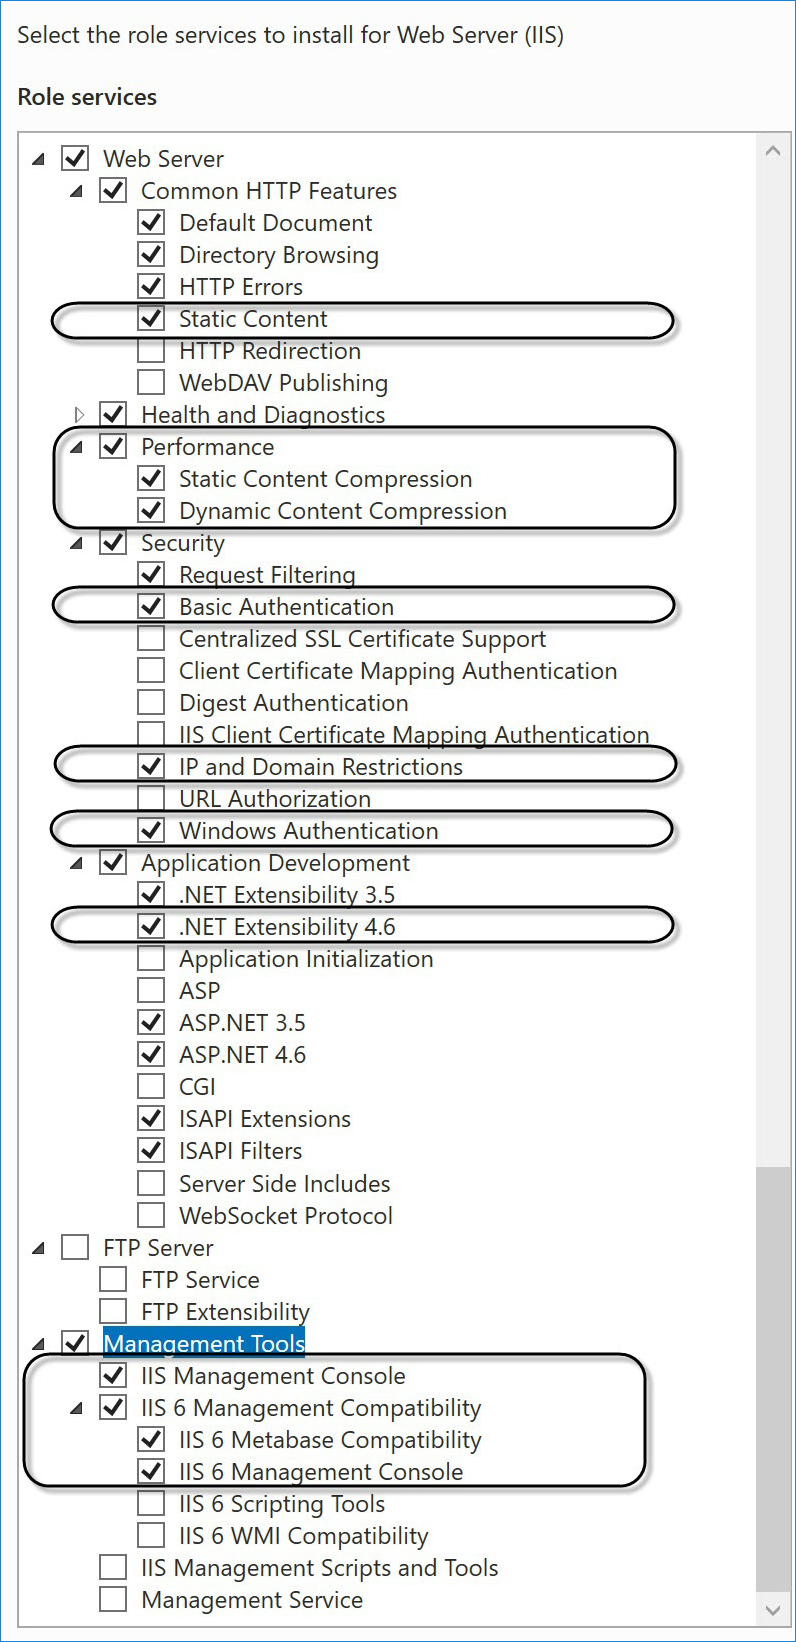
 Mark the required features as shown and click Next.
-
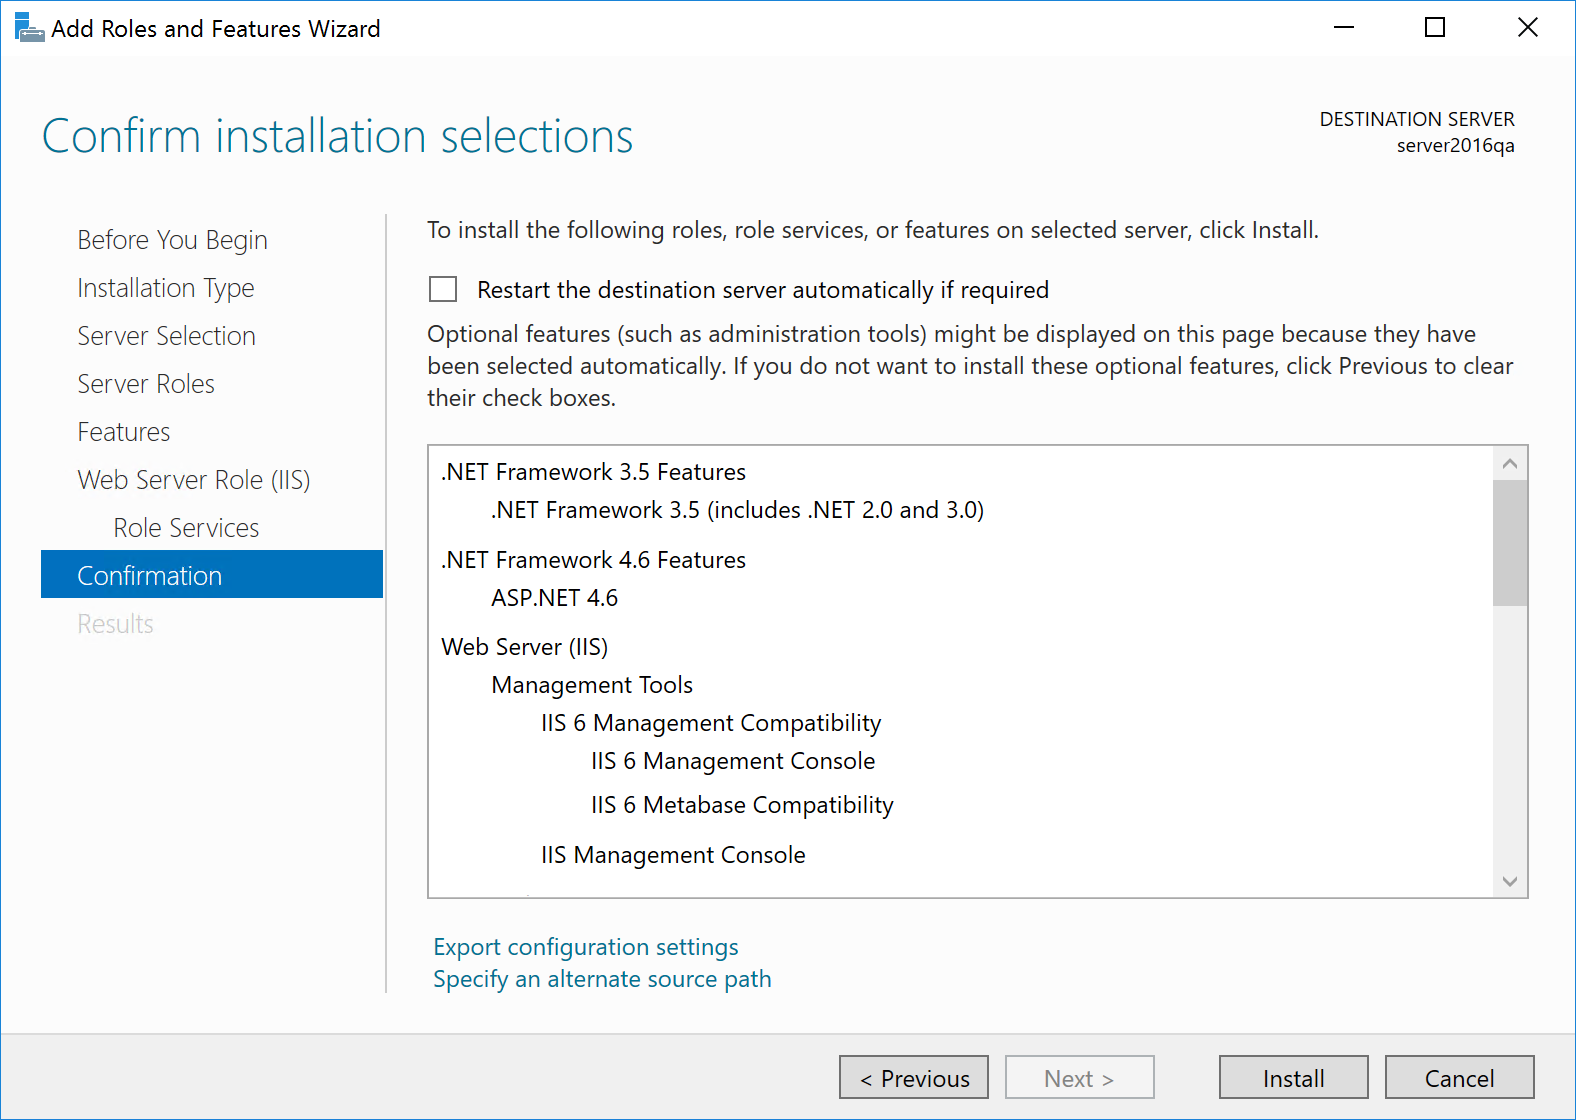
Review and confirm the selections made in the wizard, then click Finish to start the installation.
 After installation, a window will show the installed IIS Web Server and role services. You can export the configuration settings to an XML file for PowerShell use on another machine.
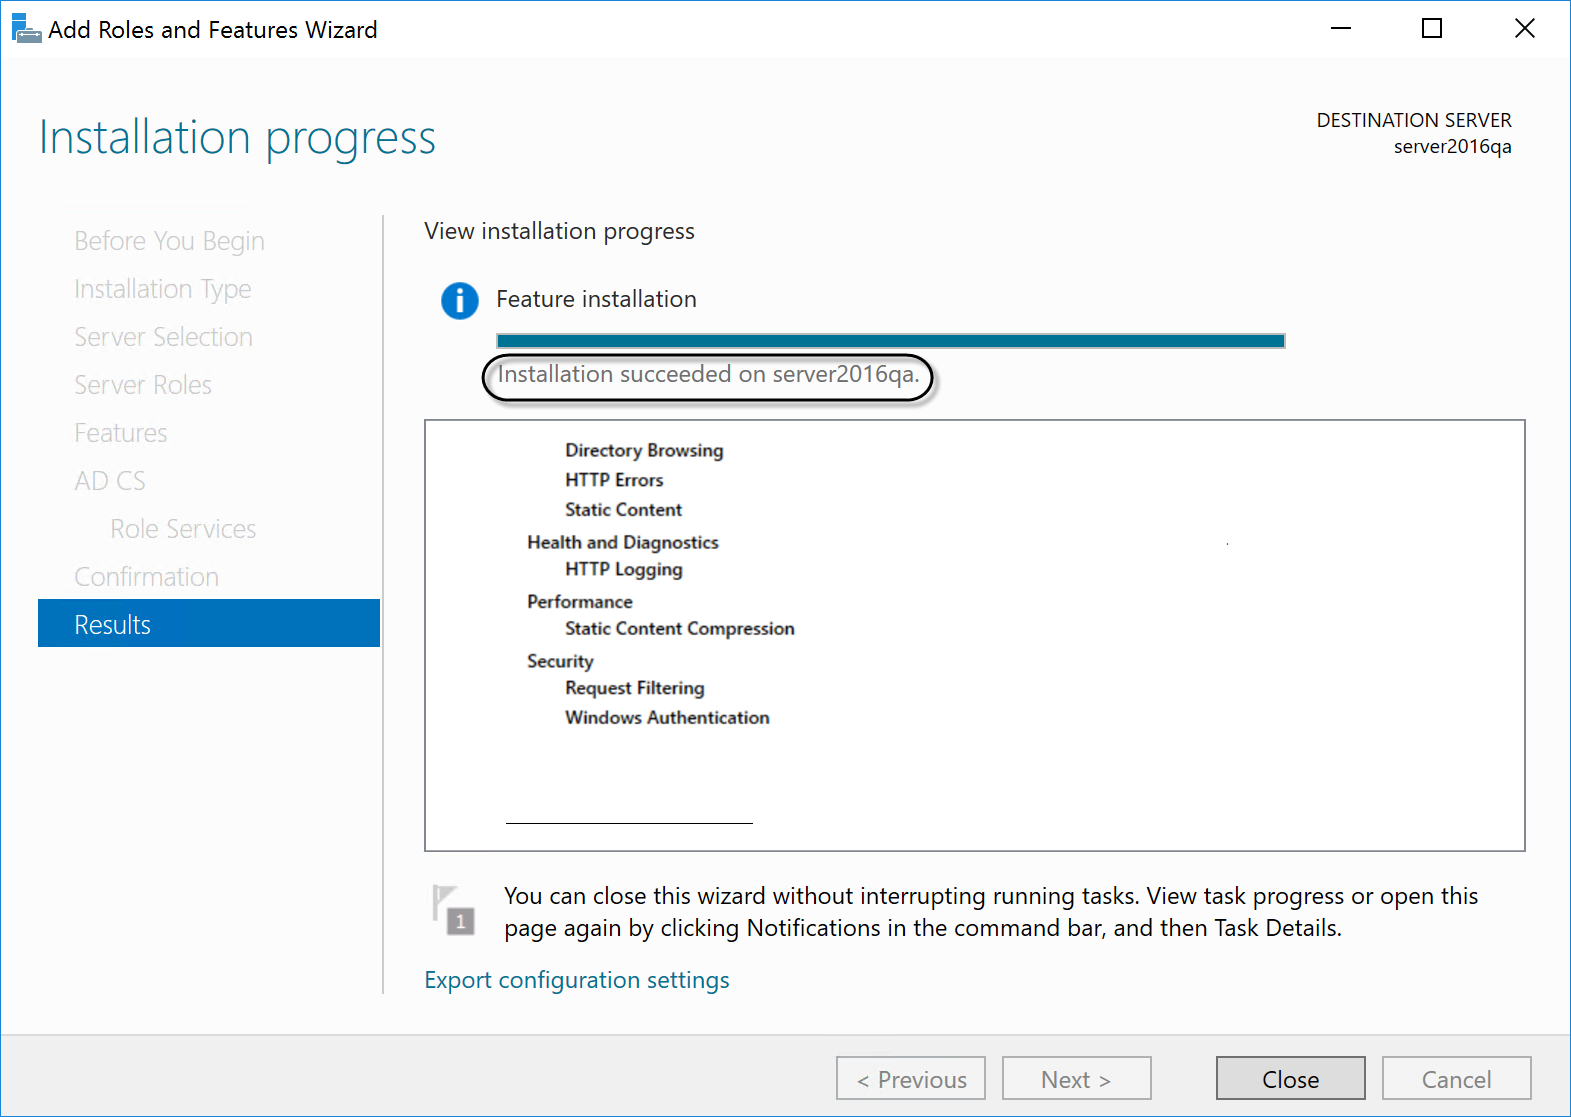 Click Close when done.
Verifying IIS and the Default Web Site
After installing IIS, verify that it is ready for use:
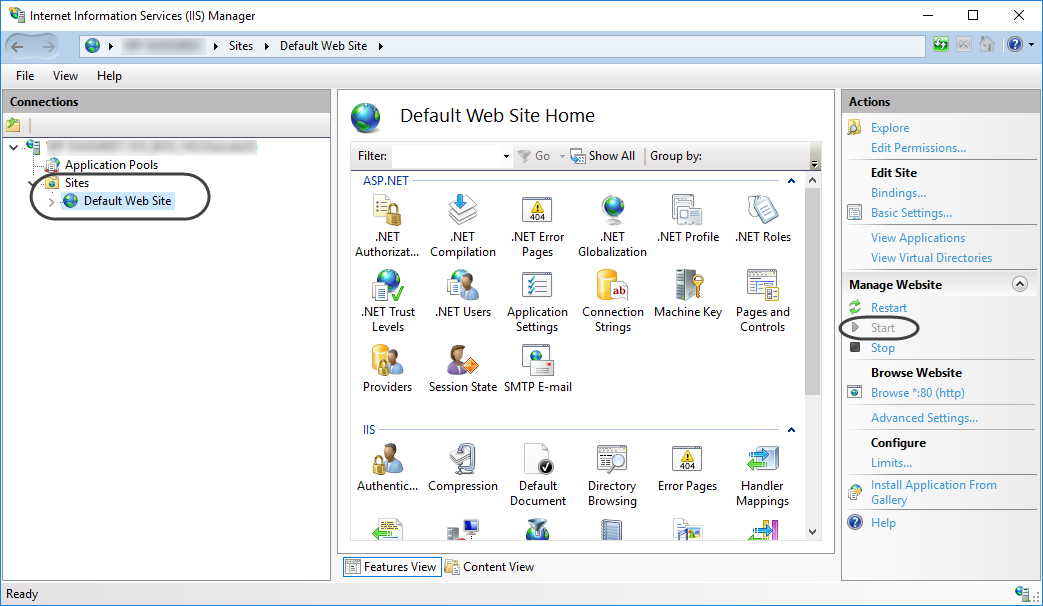
- Open IIS Manager using the
inetmgrcommand or by navigating to Control Panel > System and Security and accessing Internet Information Services (IIS) Manager.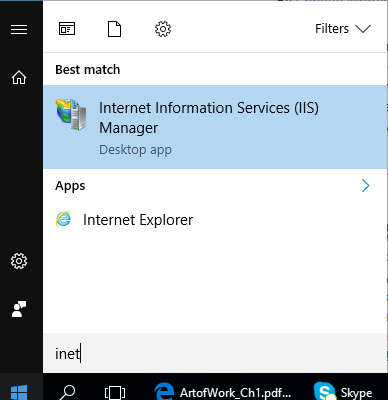
- Ensure that the Default Web site appears under Sites in the IIS Manager and is in an enabled and started status.
At this point, you are ready to create new Bizagi projects.